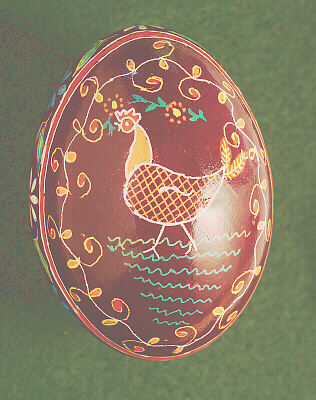
This egg was hand-painted by Barbara Muth, a friend who is a very talented egg painter. In addition to painting eggs or decorating them in other elaborate ways, we use eggs for many purposes, including eating them, cooking with them in various recipes, using them in scientific research, using them to make a durable paint, and using them in magic tricks. However, think for a few minutes about the real purpose for which an egg was designed.
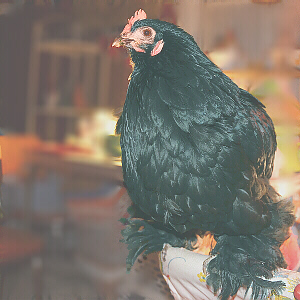
(This is Morwen, a little, 3-lb, Cochin Banty fluff-ball.)
One way in which hens and human females are similar is that both ovulate on
a regular basis, even if the eggs which are produced arent fertilized. As
you hopefully know, human females ovulate about once every 28 to 29 days,
and the vast majority of those eggs never get fertilized, but the woman has
her period, instead. Similarly, hens ovulate about every 1½ to 2 days. One
difference is that after ovulation, a hens reproductive system will
subsequently add a yolk and albumen to the actual egg, then coat the whole
thing with an eggshell, prior to releasing it from her body. Those
unfertilized eggs are packaged into cartons and sold in our grocery stores.
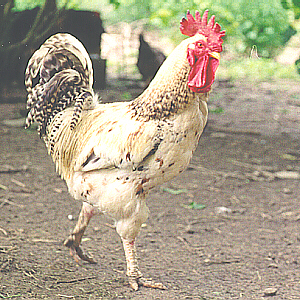
(This guy is out at Dr. Fankhausers farm.)
In humans, if a couple has intercourse at just the right time so that his
sperm can swim up the womans reproductive tract and be present when she
ovulates, theres a good chance shell become pregnant. Similarly, if there
are roosters around, a hen and a rooster may mate, and his sperm must swim
up her reproductive tract to fertilize the actual egg cell before the
hens body adds the yolk, egg white, and shell.
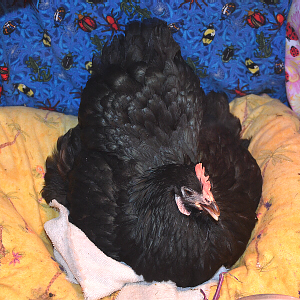
(Morwen brooding eggs)
One difference between chickens and humans is that, while a human zygote
(the cell that results from the union of the egg and sperm) immediately begins
to develop, chicken zygotes can wait up to a week or so to begin development
and will only begin development if kept at a warm-enough temperature. That
way, a hen has time to lay several eggs in her nest, yet all the chicks will
hatch at the same time. After laying a number of eggs, a hen may go broody
and brood her clutch of eggs (incubate them, sit on them to keep them
warm).
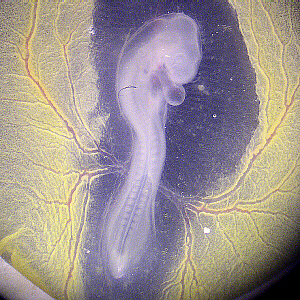
(72-hr old chick embryo)
The warmth provided by her body allows the zygotes to develop into chicks.
Regardless of the order in which they were laid, three days after she begins
to incubate them, the embryos in the eggs will all look like the 72-hr.
embryo in this photograph by Dr. Fankhauser. To
insure that the embryos are kept warm enough to develop properly,
during the time they are developing, the hen sits on her eggs continuously,
only leaving her nest once a day for just long enough to defecate and eat
a quick meal.
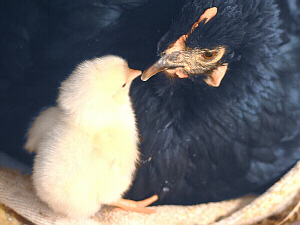
(Morwen went broody and was given some
adopted eggs from Dr. Fankhausers farm.
Here she is with two-day-old Nim.)
Then, 21 days later, her eggs hatch, and she has a family of fuzzy chicks
to raise. They still need to be kept warm for a few more weeks, and she
has to teach them whats good to eat and put up with them jumping up on
her back to play.
An egg has to provide protection, food, and air for the developing embryo for the whole 21 days. Think about how much space would be needed to store all the food you eat in 21 days! All the vitamins, protein, and energy the embryo chick needs to grow must be packaged into the egg thats the growing embryos only source of food for that whole time. As mentioned above, the hens reproductive tract adds three main things to the egg before it is laid.
One note here about egg safety: because egg shells are porous, there is a possibility that washing eggs may actually give bacteria a route by which to enter the egg. If eggs are washed just before use, this would not be a problem because the number of bacteria would be negligible. However, if eggs are washed just after the hen lays them (as is routinely done in egg factories), then packaged into egg cartons, then sit for a while until shipped to a grocery store, then sit for a while at the grocery store until purchased, then sit for a while in your refrigerator until used, that may give any bacteria that did enter the egg a chance to grow and multiply, so by the time the eggs are used, the bacterial count may be significantly higher, perhaps enough to make someone sick. To prevent bacterial growth in eggs, if washing is even needed (which it usually is not), they should not be washed until just before use.
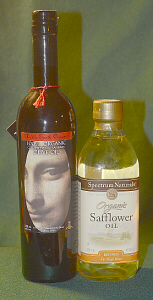
So how do you cram 21-days-worth of nutrition into one egg yolk? The amount of vitamins and minerals needed by a small embryo growing into a small chick is small enough to fit without too much of a problem, and the hens body manages to cram sufficient protein into the yolk, too. (Note, by the way, that the nutritional value of an egg is dependent on the hen being well-fed. Hens who live in egg factories and only get human-made laying mix to eat typically lay eggs with very pale yellow yolks, while free-range, farm hens who get to eat dark-green leafy vegetation, food scraps, etc., typically lay eggs with dark orangish yolks due to the presence of a lot more vitamins.) A bigger challenge is to fit 21-days-worth of energy (Calories) into as small of a space as possible.
The solution to that problem is rather interesting. You
may recall hearing that 1 g of protein or 1 g of carbohydrate stores/provides
4 KCal of energy, while 1 g of lipid (fat, oil) stores/provides 9 KCal of
energy. That means that by providing the growing chick embryo with energy
stored in lipids (fats) rather than carbohydrates (sugar), the
same amount of energy will require only 44% as much storage space. For
example, an average egg weighs about 50 g and contains about 5 g of lipids,
so thats equivalent to 45 KCal of energy. If that 45 KCal of energy would
be stored as carbohydrate, instead, that would weigh a little over 11 g.
That means the overall weight of the egg would have to increase by a little
over 6 g, or 12.5% of the original weight of the egg.
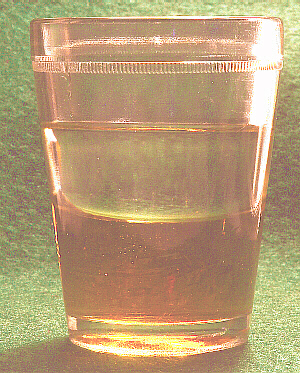
(oil on top, vinegar on bottom)
However, there is one small detail to be worked out when storing energy as
lipids. That
50-g egg contains about 38 g of water. Granted, a lot of that water is out
in the albumen (egg white), but theres a lot in the yolk, too. As you may
recall, and as shown in this photo, oil and water do not mix. This little
glass contains vinegar (a water-based solution), which is the brownish liquid
on the bottom, and salad oil, which is the pale-yellow liquid on the top.
Even if wed shake up this glass, the vinegar and oil would just separate,
again. Thus it wont work to have an egg yolk that contains just water and
lipids, because the same separation would occur there. An egg yolk needs to
also contain some substance that would enable the oil and water to stay mixed
together.
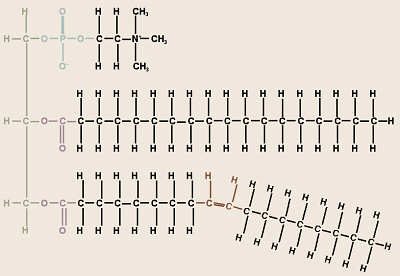
(structure of lecithin)
The solution is to include lecithin, a type of phospholipid.
Note that this molecule contains a glycerol backbone that is bonded to two
fatty acid chains (from the bottom two carbons) and to a phosphate group
(from the top carbon) that is also bonded on to something else. The long,
fatty acid chains are hydrophobic, and as such are soluble in lipids
such as fats, oils, cholesterol, etc. The phosphate group is ionic, and has
a lot of polar oxygen atoms in it, so that end of the phospholipid
molecule is hydrophilic (water-soluble). Because of that,
phospholipids, such as lecithin, are emulsifying agents, substances
which are soluble in both oil and water, thereby enabling those two
substances to mix together. That forms an emulsion in which the fat
is divided into tiny droplets and dispersed among the water-based solution.
Soap is another example of an emulsifying agent: it allows oily dirt to mix with water so it can be washed out of ones clothing or off ones dishes. Milk and blood are other examples of emulsions.
 The lecithin in egg yolk can emulsify a lot more than just whats in the
yolk, and thats the basis of the emulsion known as mayonnaise.
In mayonnaise, an egg yolk is used to blend together an acidic, watery
substance and an oily substance. There are several conjectures as to the
origin of mayonnaise, but the most popular story is that it originated in
Mahón in Minorca, Spain, and from there was introduced into France, possibly
with the original French name of mahonnaise (meaning of/from Mahón,
in the style of Mahón). From what Ive read, in the original Spanish and
French versions, olive oil is always used, and either lemon juice or vinegar
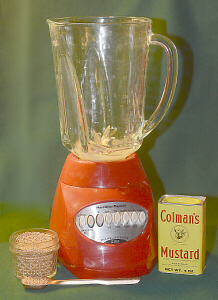
may be used as the acid. Also, it sounds like while the original Spanish
version never contains powdered mustard, in the traditional French version,
mustard is always added as a seasoning.
The lecithin in egg yolk can emulsify a lot more than just whats in the
yolk, and thats the basis of the emulsion known as mayonnaise.
In mayonnaise, an egg yolk is used to blend together an acidic, watery
substance and an oily substance. There are several conjectures as to the
origin of mayonnaise, but the most popular story is that it originated in
Mahón in Minorca, Spain, and from there was introduced into France, possibly
with the original French name of mahonnaise (meaning of/from Mahón,
in the style of Mahón). From what Ive read, in the original Spanish and
French versions, olive oil is always used, and either lemon juice or vinegar
may be used as the acid. Also, it sounds like while the original Spanish
version never contains powdered mustard, in the traditional French version,
mustard is always added as a seasoning.
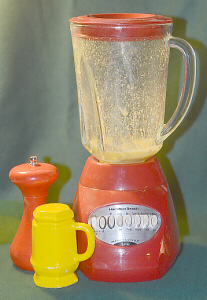
Now, the use of mayonnaise has
spread worldwide, and there are many national and gourmet variations on
the type of acid (lemon juice or any of a wide variety of vinegars), type
of oil (olive oil, cheap salad oil, or a variety of other oils), and types
of other spices (rosemary, basil, hot peppers, etc.) which may be added.
There is also a wide variety of other additives, from the sugar and starchy
fillers used in commercial mayonnaise (especially light mayonnaise) to
tomato-based products (tomato paste, ketchup) to pickle relish to blue
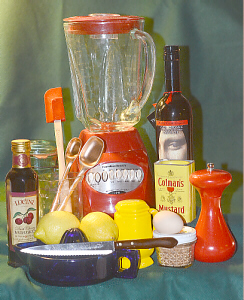
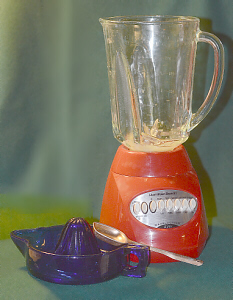
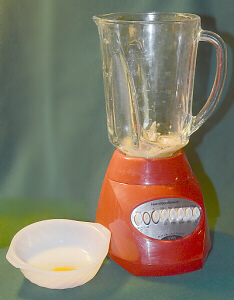
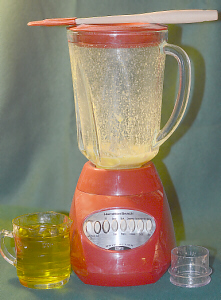
cheese, etc., which may be added. When mayonnaise is mixed by hand with a
whisk, typically
only the egg yolk is used, but when mixed in a blender, often the whole egg
is added. Some kinds of egg-free mayonnaise use lecithin from soy beans.
While cheap, store-bought mayonnaise may contain things like distilled white
vinegar (chemically-synthesized acetic acid diluted to 5%), low-grade,
generic salad oil, starch and other fillers to mimic the consistency of
mayonnaise, and sugar, on the other hand, the taste and quality of home-made
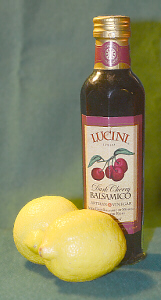
mayonnaise can be varied greatly through the creative use of lemon juice or
different vinegars (balsamic, wine, malt, cider, rice, etc.), different oils
(olive, hazlenut, walnut, avocado, corn, etc.), and different herbs and
spices (mustard, chili powder, curry, rosemary, garlic, etc.). Many people
who take the time to make their own mayonnaise will use high-quality, organic,
cold-pressed oils, and if using olive oil, will also choose extra-virgin (the
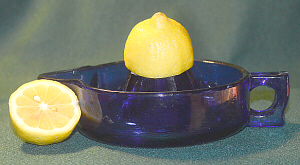
first, highest-quality pressing from the olives). If using lemon juice, they
will squeeze their own from fresh, organic lemons, or if using vinegar, will
use an organic vinegar, perhaps a balsamic or wine vinegar. They may also
seek out a source for fresh-from-the-farm, organic eggs from free-range
chickens, or if space allows, raise their own chickens and use their own
eggs. Use of a spice grinder to grind whole spices immediately before
adding them to the mayonnaise can greatly enhance the flavor as compared to
using purchased, pre-ground spices from which the flavor has had time to
evaporate.

(Frodo was busy sleeping but when shes awake,
she likes to eat mayonnaise on a salad of kale,
corn, blueberries, sunflower seeds, shredded
carrots and zucchini, and salmon.)
Make sure you have all of the following in your lab notebook: